My Beautiful SB220
by NØXB
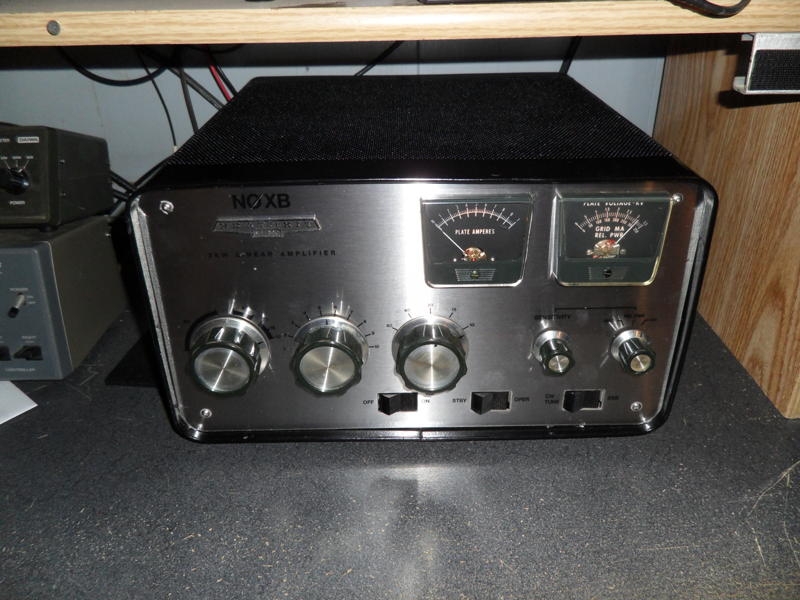
I purchased a run of the mill SB220 a while back. It worked but needed a lot of TLC to get it up to specs. The amp got a little makeover with a new FT-220 Peter Dahl filament transformer first and then I did the usual Harbach mods. I put in an RM-220 rectifier / metering board , PS-220 parasitic suppressor kit, FB-220 filter capacitor block, a new RY-220 T/R relay, SK-220 soft key , and the SS-221 soft start kits. Now the amplifier was working great but still the old beast needed a face lift. I decided to build a new front panel and add a Standby / Operate switch. Here is what I did to accomplish the makeover.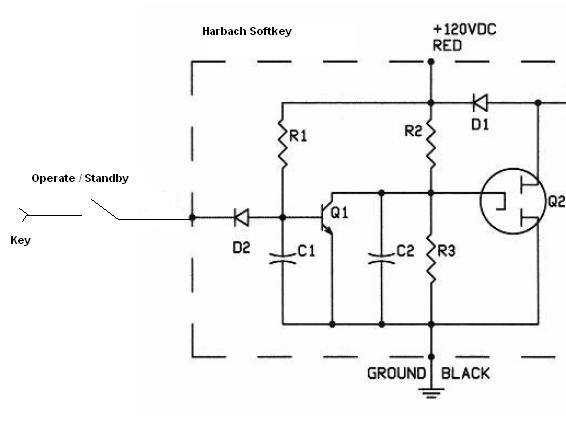
The Standby / Operate switch is easy to install. Just place the switch in series with the key jack and the Harbach softkey module or the original circuitry. Either way you will have a nice Standby mode that Heathkit forgot.
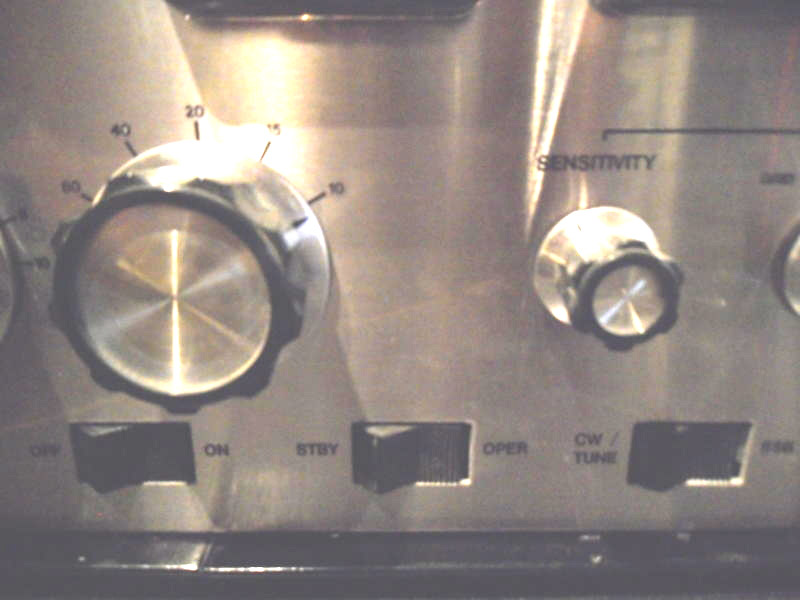
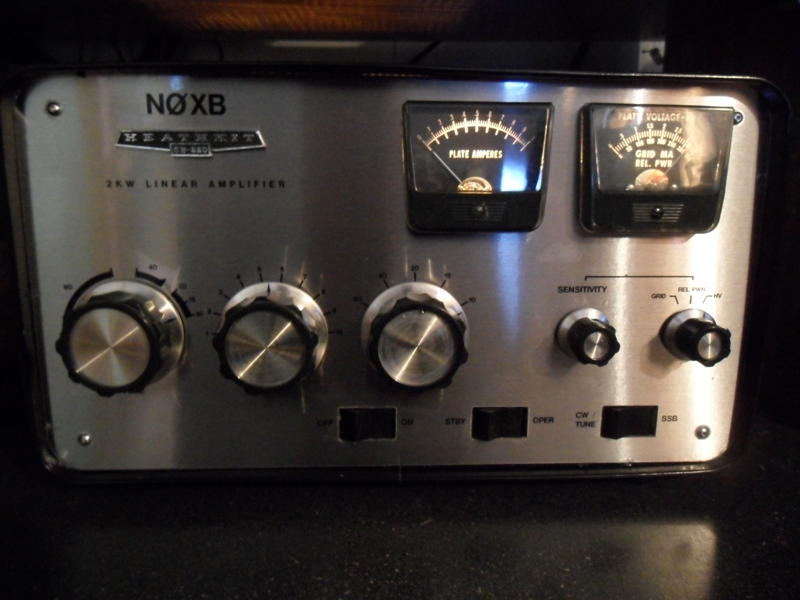
I took the SB220's original front panel to Gieske sheet metals in KC Mo. and they scanned the panel using a cad software tool. Once in software they made the Standby / Operate switch addition to my specifications. I wanted the ON / OFF Switch moved to a new location on the panel and the Standby / Operate switch to be next to it. I decided to use stainless steel for the material in my new front panel. Gieske used a water jet to fabricate the panel and in no time I had a nice new panel. Now I needed the panel marked. The traditional way to mark these is to silk-screen the graphics as Heathkit did. I quickly found out just how expensive that was going to be and started looking for a cheaper alternative.
I took the cad program file to a sign shop in St. Joseph Mo. The "Eyecandy" shop printed an overlay on clear vinyl for me for about 25 dollars. At first I had a rough time with the overlay sticking down on the bare stainless so I had "Eyecandy" dry laminate the front panel with a clear vinyl sheet. I was then able to get the second lettered layer to lay down on the dry laminate. The lettering is crisp and I think it looks great. I reassembled the amplifier and installed the Standby / Operate Switch. Now my SB220 looks as good as it operates.
Good Luck with your next project NØXB.